Easter is almost upon us. Religious or not, we all love Easter and especially the excess of chocolate. You’ll be inundated with adverts for Easter eggs; pressurised that they’re ‘perfect for Mum’, ‘perfect for the kiddies’, ‘perfect for your partner’, ‘perfect for YOU’! Easter eggs these days may be relatively cheap – if you don’t mind the matching relatively small, but also tend to be made of cheaper chocolate than the same-brand’s regular choccie bars.
Have you thought of making your own? No, it’s not difficult. In fact, it’s quite easy and therapeutic. And you can be as artistic or fancy as you want to be.
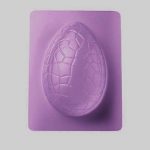
All you need is, an egg mould, chocolate, fillings and decorations. You can purchase moulds online or in kitchenwear retail shops. An average, standard, chocolate egg mould pair is only in the region of £2 or you could pay more if you want to purchase different sizes.
Melt your chosen chocolate – ideally broken up in smallish pieces, in a small bowl sat in a pan of hot water, stirring constantly. Don’t allow any water to splash into the chocolate – it’ll go grainy and ruin. You can melt chocolate using your microwave but do so in very short bursts – a few seconds at a time; the chocolate will go from solid to melted to ruined extremely quickly. You can use the chocolate ‘as is’ or you can add flavours or colourings if you like. Chocolate orange for example, is a good old favourite.
Brush the inside of your moulds with the melted chocolate, don’t try and do this all at once. Your egg will be much better if you do this in stages. Paint a thin coating, allow it to set, do another coating, set, and then a third coat. Keep a little spoonful aside for assembly later. Take a bit of time here, make your egg as thick or thin as you want, but the optimum thickness would be around half a centimetre. Lay your filled egg moulds aside for the chocolate to set. In the fridge is ideal. It won’t take very long.
Gently remove the set chocolate from the moulds (which you can reuse time and again). Decide whether you want any contents in the egg, and place them in one chocolate half. Suggestions include mini packs of favourite sweeties, additional little solid eggs (you can also buy moulds to make these too), a little toy, special private message etc. When filled, spread a little melted chocolate around the complete edge of the half egg and bring together with the other half. Don’t worry if you overdo this and a little squidges out, just gently wipe any excess away with your finger, brush or teatowel. Leave the joined egg for a little while for the join to cool and set.
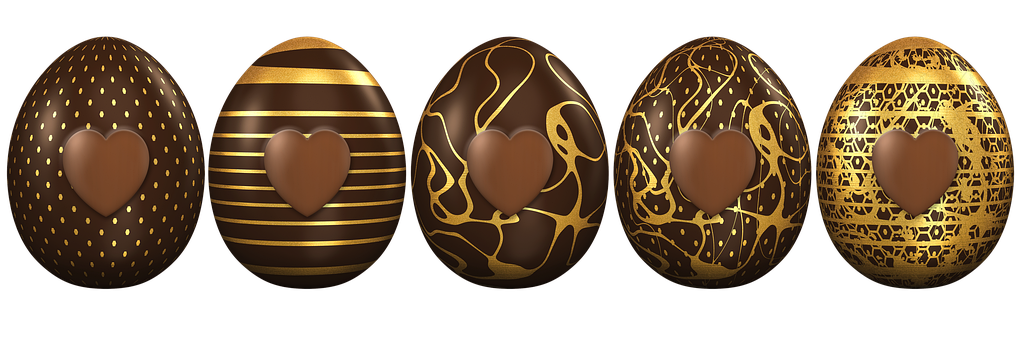
 Now the fun part. This is the stage you can totally go to town with. You don’t have to be particularly artistic. Use anything to hand – butter icing, regular icing, bought icing decorations such as flowers, bits of ribbon, lace, food colouring, paper doilies. Use either more melted chocolate or wet icing as ‘glue’. Do as much or as little as you like.

As an aside, especially with smaller children, why not hard boil some eggs and allow them to cool then let the youngsters paint their own – a few drops of food colouring in water and a brush; done!
Remember, once decorated, you need to have a container for the egg to present it to your loved-one. You could buy or make cardboard boxes, a purchased plastic gift bag, or wrap in some fancy paper or cellophane, tied with a pretty ribbon.
Once you’ve made your own Easter eggs, you might never shop-buy again. The recipients will appreciate the time and effort you’ve gone to.
Have a very Happy Easter!
love
Maggie x